How to use Backblaze B2 as primary storage in Nextcloud

Table of Contents
To setup B2 as primary storage in Nextcloud you of course need to install NC first. For that, I used setup-nextcloud.php script - it is a nice, quick way of deploying nextcloud on shared hosting. Normally i would recommend setting it up as a docker container, but that will also work for testing. While installing Nextcloud just pick default storage place for now.
Creating bucket in Backblaze⌗
If you don’t already have Backblaze account, you can register here. Backblaze gives 10GB of free storage + 1GB traffic per day for every user.
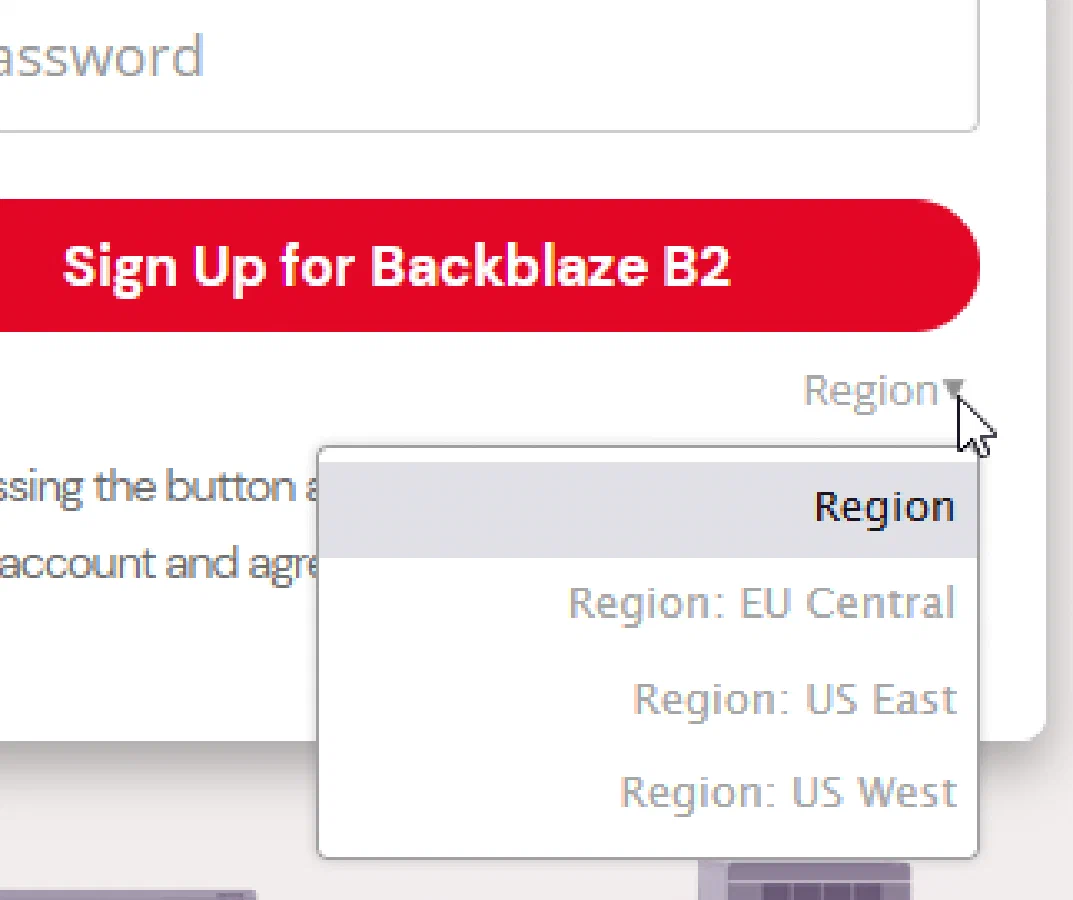
Note: make sure you select correct region, as of right now, accounts can’t be moved between regions
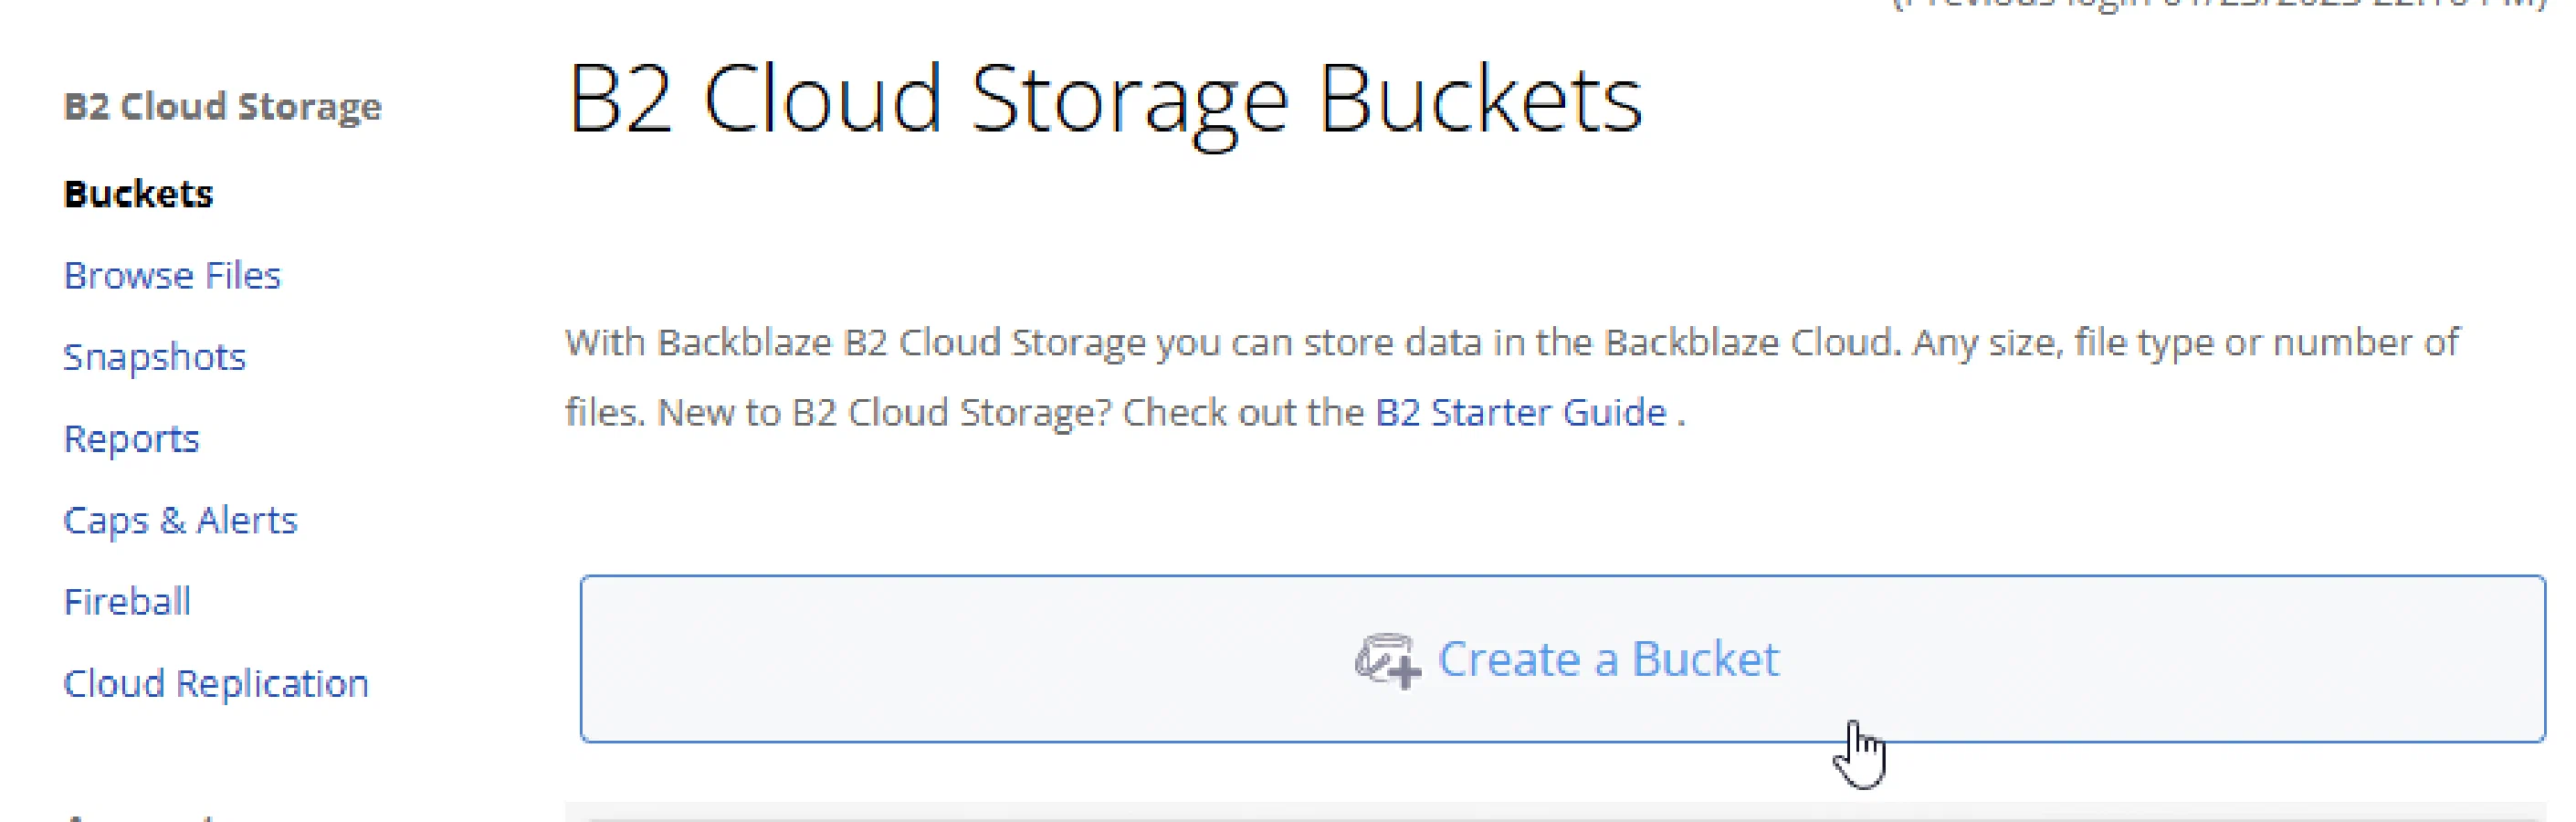
Next, after logging in, click on Buckets → Create a Bucket
Enter unique bucket name, and set “Files in Bucket are” “Private”, as we don’t want to access our files publicly from URL.
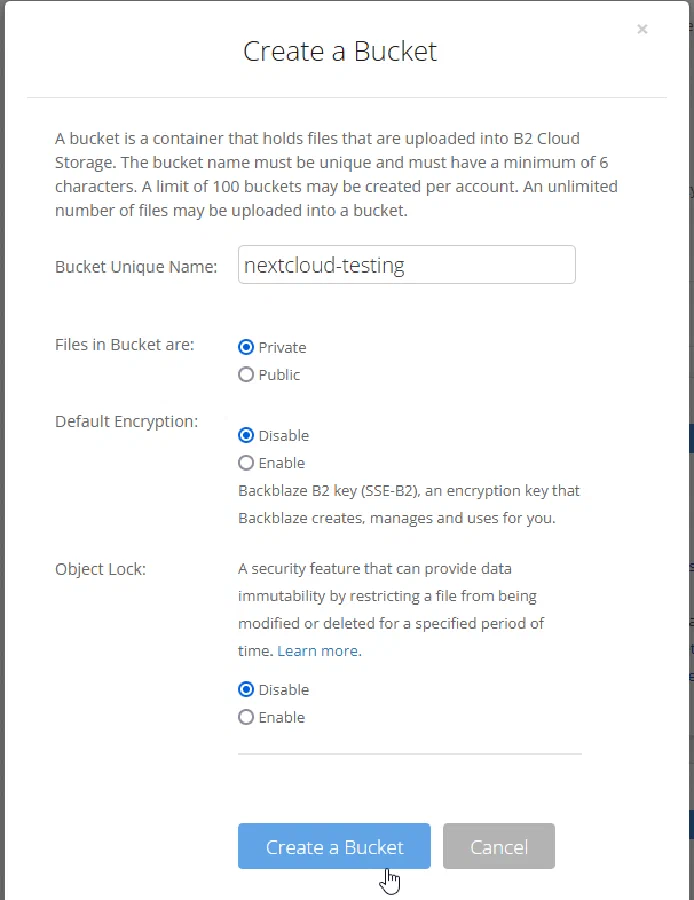
Click on “Create a Bucket”
Creating application keys in Backblaze⌗
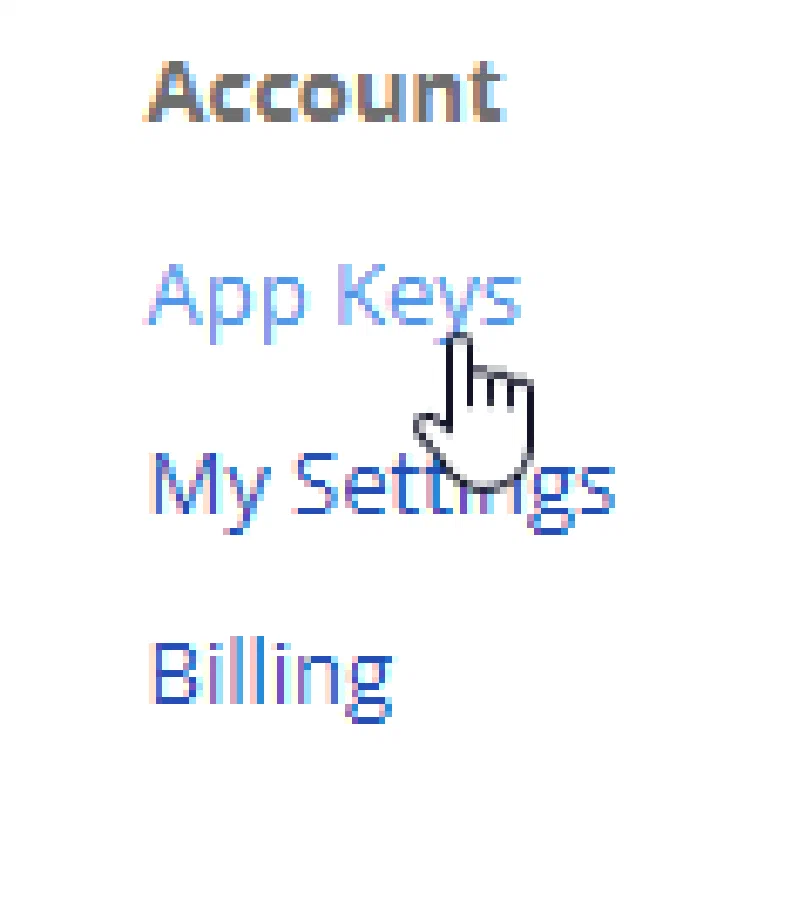
Next, navigate to Account → App Keys
On Application Keys page, click on “Add a New Application Key”
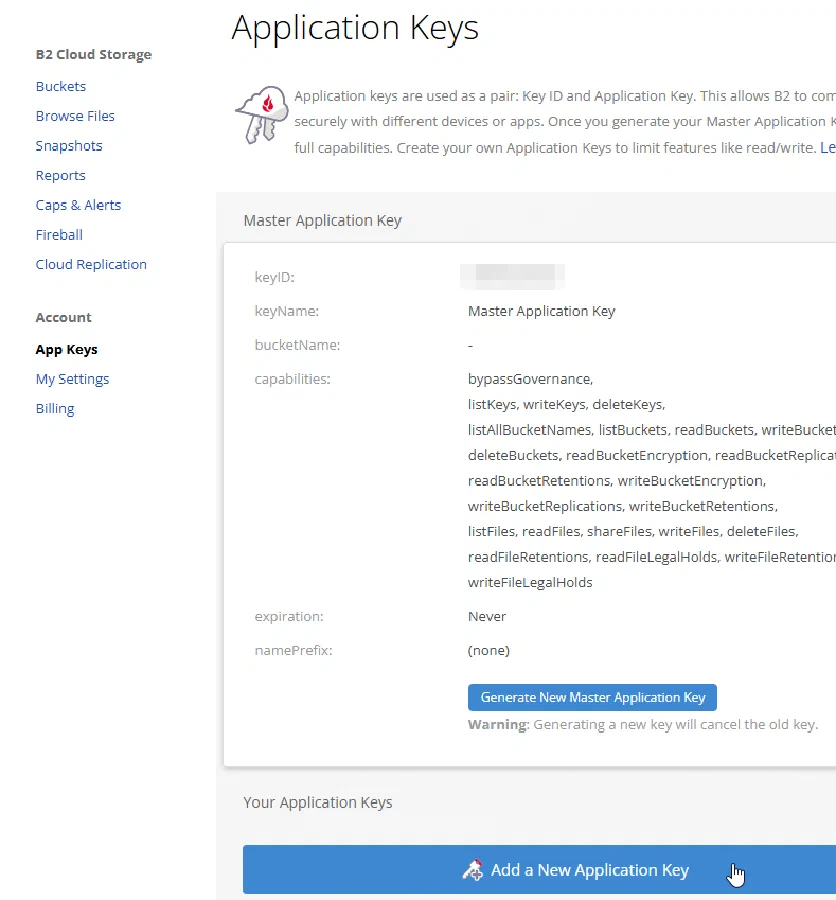
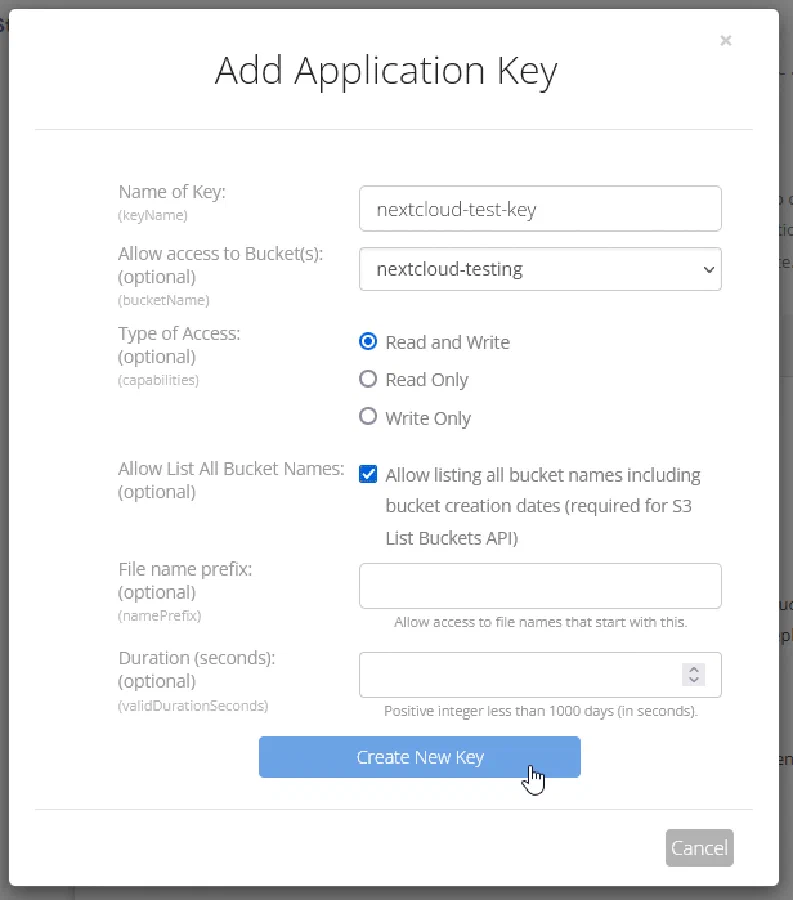
In popup, enter name of key, allow access only to the bucket we created, and allow list all bucket names for S3 compatibility.
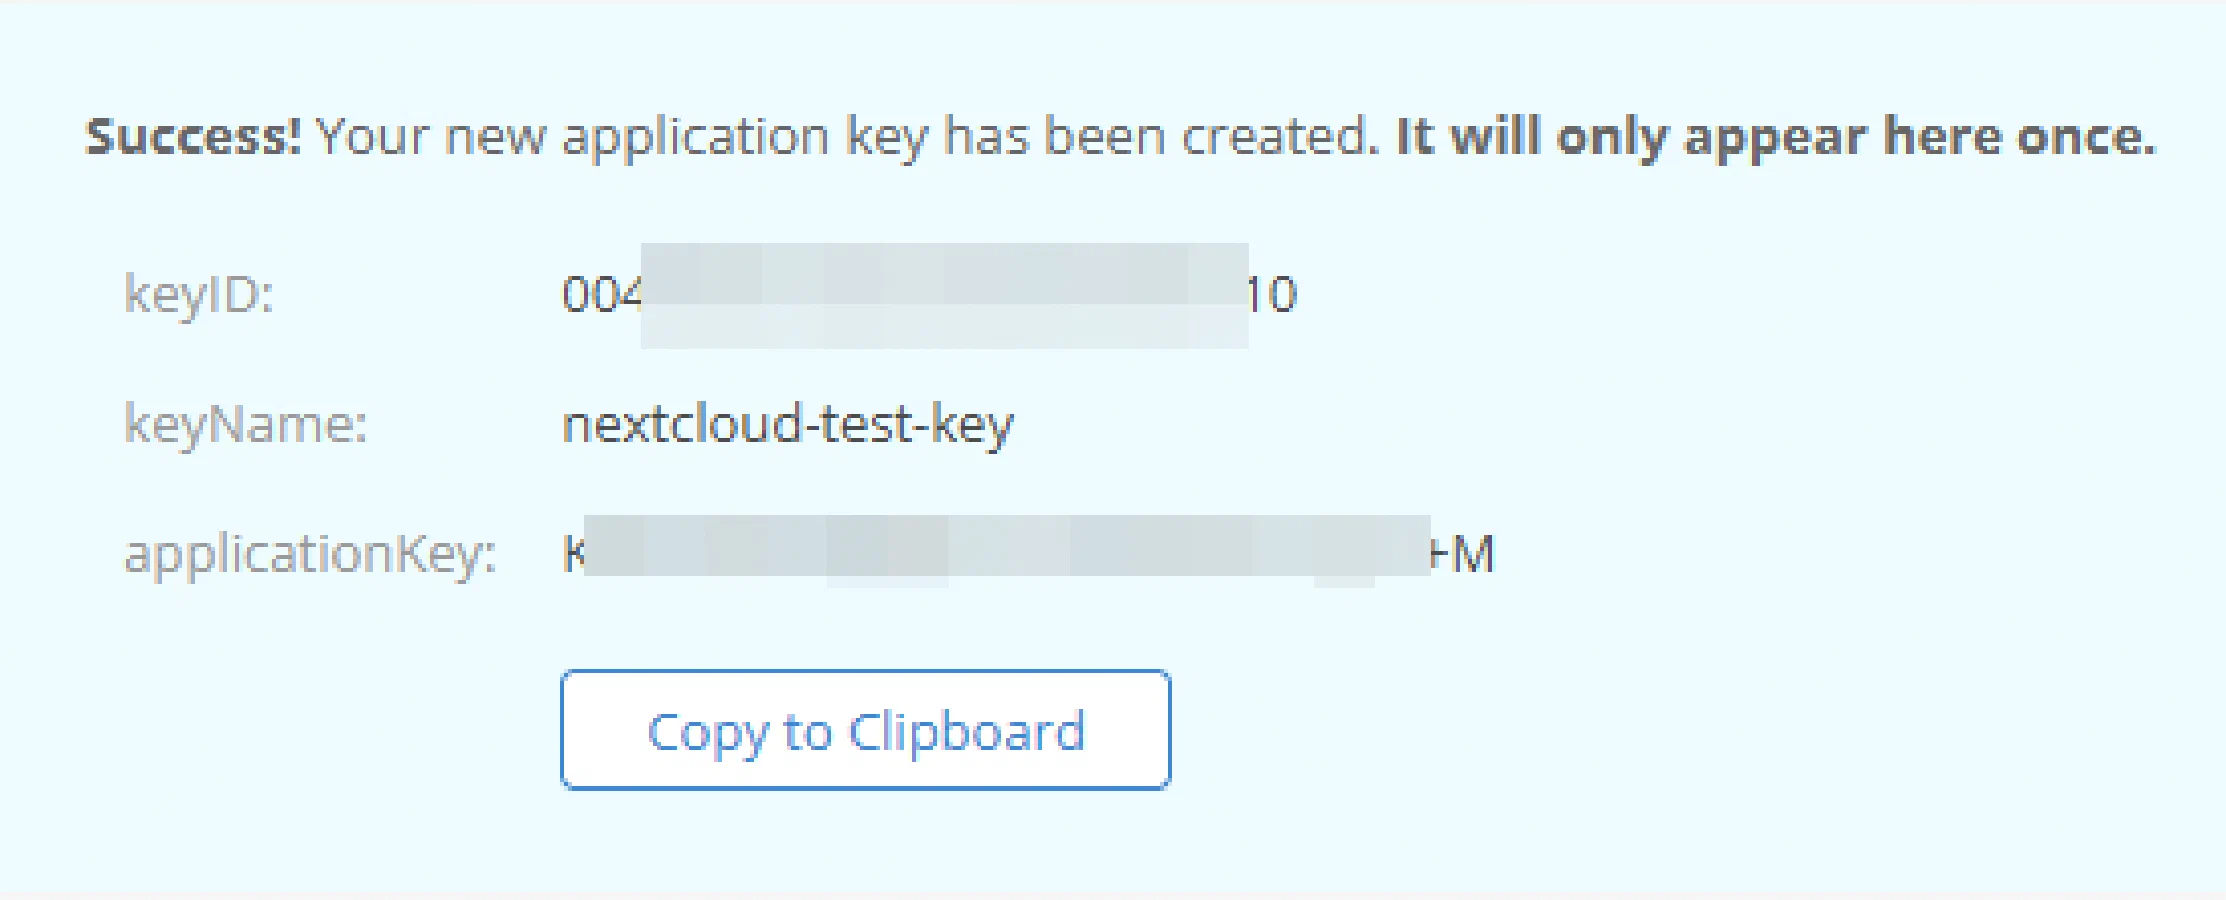
After clicking on Create New Key, you will see your new keyID and applicationKey. Note - it will be displayed only once.
Configuring Nextcloud⌗
Go to config/config.phpfile on your Nextcloud server and to $CONFIG array add
'objectstore' => [
    'class' => '\\OC\\Files\\ObjectStore\\S3',
    'arguments' => [
            'bucket' => 'nextcloud-testing',
            'autocreate' => false,
            'key'    => '004e8eebeeeef000000000f',
            'secret' => 'K00400000000000000000000/zU',
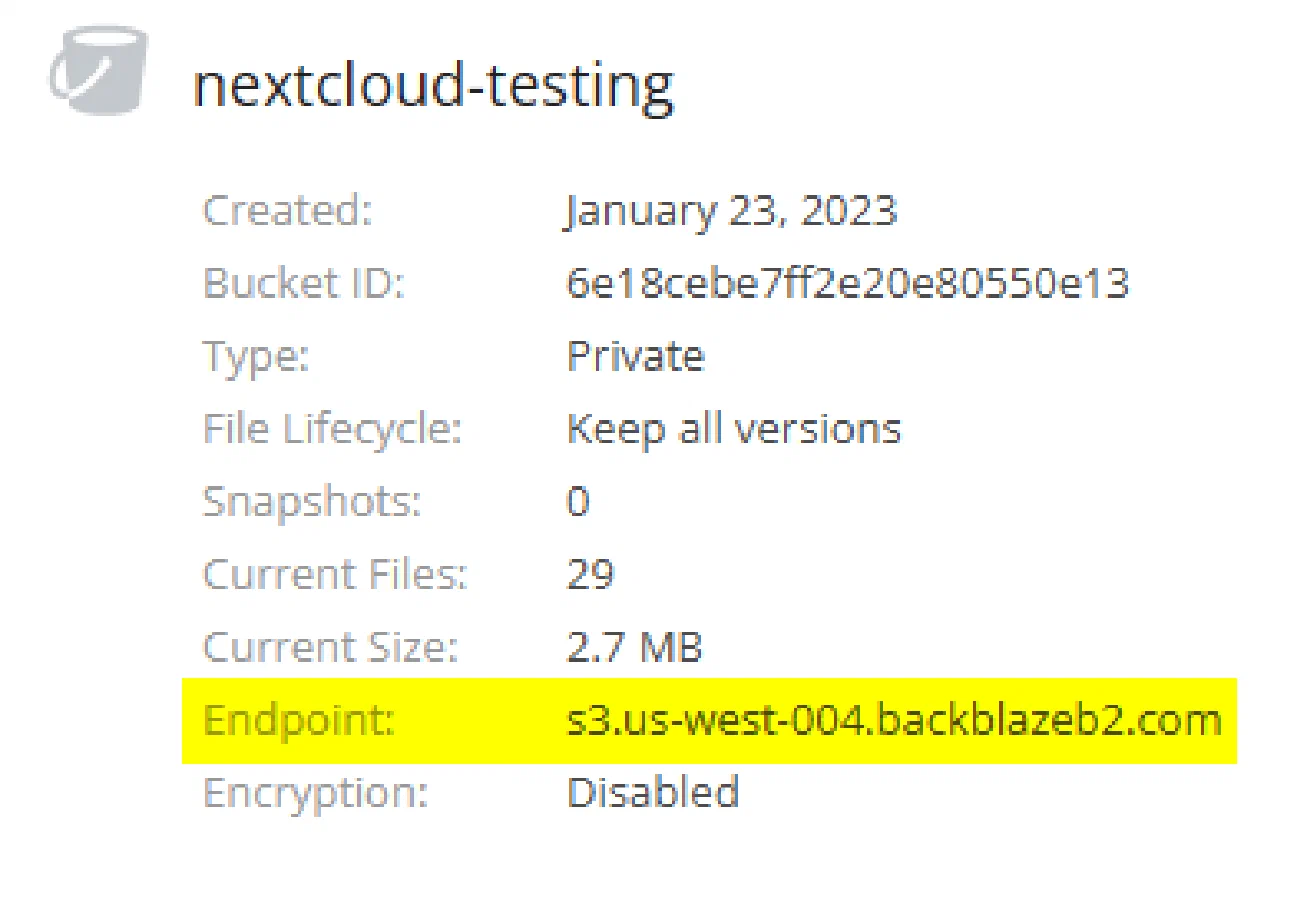
            'hostname' => 's3.us-west-004.backblazeb2.com',
            'port' => 443,
            'use_ssl' => true,
            'region' => 'auto',
            'use_path_style'=>true
    ],
Replace nextcloud-testing with the name of your bucket. Hostname should be the endpoint of bucket.
config.php should look something like that
<?php
$CONFIG = array (
  'instanceid' => '...',
  'passwordsalt' => '...',
  'secret' => '...',
  'trusted_domains' =>
  array (
    0 => 'nc.issei.space',
  ),
  'datadirectory' => '/home/issei/web/nc.issei.space/public_html/data',
  'dbtype' => 'mysql',
  'version' => '25.0.3.2',
  'overwrite.cli.url' => 'https://nc.issei.space',
  'dbname' => 'issei_ncs3',
  'dbhost' => 'localhost',
  'dbport' => '',
  'dbtableprefix' => 'oc_',
  'mysql.utf8mb4' => true,
  'dbuser' => 'issei_ncs3',
  'dbpassword' => '...',
  'installed' => true,
  'objectstore' => [
    'class' => '\\OC\\Files\\ObjectStore\\S3',
    'arguments' => [
            'bucket' => 'nextcloud-testing',
            'autocreate' => false,
            'key'    => '004e8eebeeeef000000000f',
            'secret' => 'K00400000000000000000000/zU',
            'hostname' => 's3.us-west-004.backblazeb2.com',
            'port' => 443,
            'use_ssl' => true,
            'region' => 'auto',
            // required for some non Amazon S3 implementations
            'use_path_style'=>true
    ],
],
);
Save the file and visit Nextcloud.
Note: if you uploaded files prior to setting object store you will no longer see them (but they still exist on local filesystem).
Try to upload a file, if it succeeds, congratulation, your Nextcloud instance will now use B2 as primary storage!
Basic troubleshooting guide⌗
- Add to config array
'debug' => true,It will print any errors. - Try to access bucket with awscli or WinSCP on your local machine.